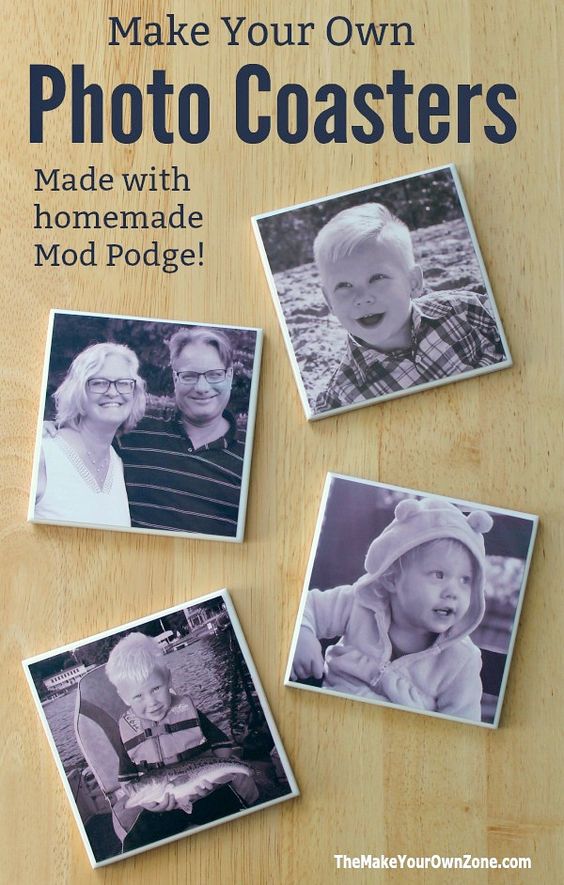
Grandparents Day is just around the corner, and there’s no better way to celebrate the extraordinary people in our lives than with a heartfelt, handmade gift. That’s why we’ve put together this simple DIY tutorial to make personalized photo coasters. This easy and meaningful craft is something even the least crafty among us can manage, and the best part? It’s a unique keepsake that your grandparents will cherish forever.
Materials Needed
- Ceramic tiles (4×4 inches)
- Printed photos (4×4 inches)
- Mod Podge (Matte finish)
- Foam brushes
- Felt pads or cork sheet
- Acrylic sealer spray
- Scissors or X-Acto knife
- Ruler
Step-by-Step Instructions
Step 1: Gather Your Materials
Before starting, make sure you have all your materials in one place. This will make the crafting process smoother.
Step 2: Prepare the Tiles
Wipe down the ceramic tiles with a damp cloth to remove any dust or residues. Allow them to dry completely.
Step 3: Cut Your Photos
Use scissors or an X-Acto knife along with a ruler to cut your printed photos to fit the 4×4-inch tiles. Double-check the measurements before cutting.
Step 4: Apply Mod Podge to Tiles
Using a foam brush, apply a thin layer of Mod Podge directly onto the tile’s surface.
Step 5: Place the Photo
Carefully place your cut-out photo on top of the Mod Podge layer, making sure it aligns well with the edges of the tile. Smooth out any bubbles under the photo using your fingers or a flat edge.
Step 6: Seal the Photo
Apply another thin layer of Mod Podge over the photo, sealing it onto the tile. Allow this to dry for at least 20-30 minutes.
Step 7: Add Felt or Cork
Cut felt pads or a cork sheet to fit the bottom of the tile. Attach these to prevent the coaster from scratching any surfaces.
Step 8: Final Sealant
Once everything is dry, give the coaster a final spray of acrylic sealer for added durability. Allow this to dry for an additional 20-30 minutes.
Step 9: Let It Cure
Allow the coaster to sit and fully cure for at least 24 hours before using or gifting


 Facebook
 X
X
 Pinterest
 Copy Link


